Don’t feel like yourself without being able to visit your favourite beautician for a chat and a much needed pamper session for your hands? The simple things can give you that much needed lift to make you feel like yourself again. That’s why we are bringing you our top tips for a DIY manicure at home inspired by our favourite Kardashian/Jenner nail looks. If it’s good enough for the Kardashians, then it’s good enough for us.
What you’ll need:
- A steady hand
- Your favourite colour of nail polish
- A mini brush or Q-tips and nail polish remover to erase any mistakes
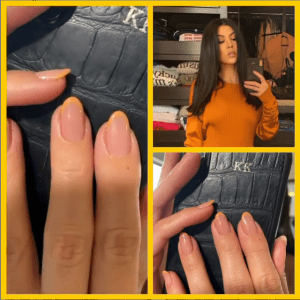
Kim Kardashian West
Kim comes first because, well, because she’s Kim. To say no detail is left unturned with Kim’s beauty and fashion looks would be an understatement, but when it comes to her nails, she likes to keep it simple. She has previously admitted that one of her biggest regrets was having short nails when she got engaged saying “[her ring] would have looked much better with long nails”. Kim hasn’t been caught with short nails since, we imagine to avoid any future regrets. Kim usually goes for a natural manicure or gold nail, so we wanted to bring you a gold foil nail look as inspired by Kim K.

How to:
- File nails to desired shape (we are going for a square look)
- Tear your foil into miniature pieces with tweezers
- Apply an undercoat and place foil on your nail, patting down with your finger
- Once you are happy with how this looks and how much foil you have on apply your topcoat
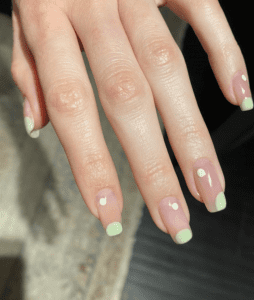
Kendall Jenner
Our second look is simple but bright to reflect Kendall’s style. Kendall admitted to biting her nails when she was younger so we can’t help but thinking her amazing manicures are to keep her from going back to old habits. Only adding a touch of colour to your nails tends to clash less with clothing and you won’t get bored and want to change it up as quickly.
How to:
- Files nails to desired shape keeping enough length to apply the colour at the top of the nail
- Apply an undercoat to help your nail polish glide on easier
- Apply your desired colour just to the tip of your nail, removing any mistakes with nail polish remover and your mini brush
- Take your mini brush and dip it into your nail polish colour and apply one little dot at the desired location towards the cuticle of your nail
- Apply a clear topcoat to help your look last longer
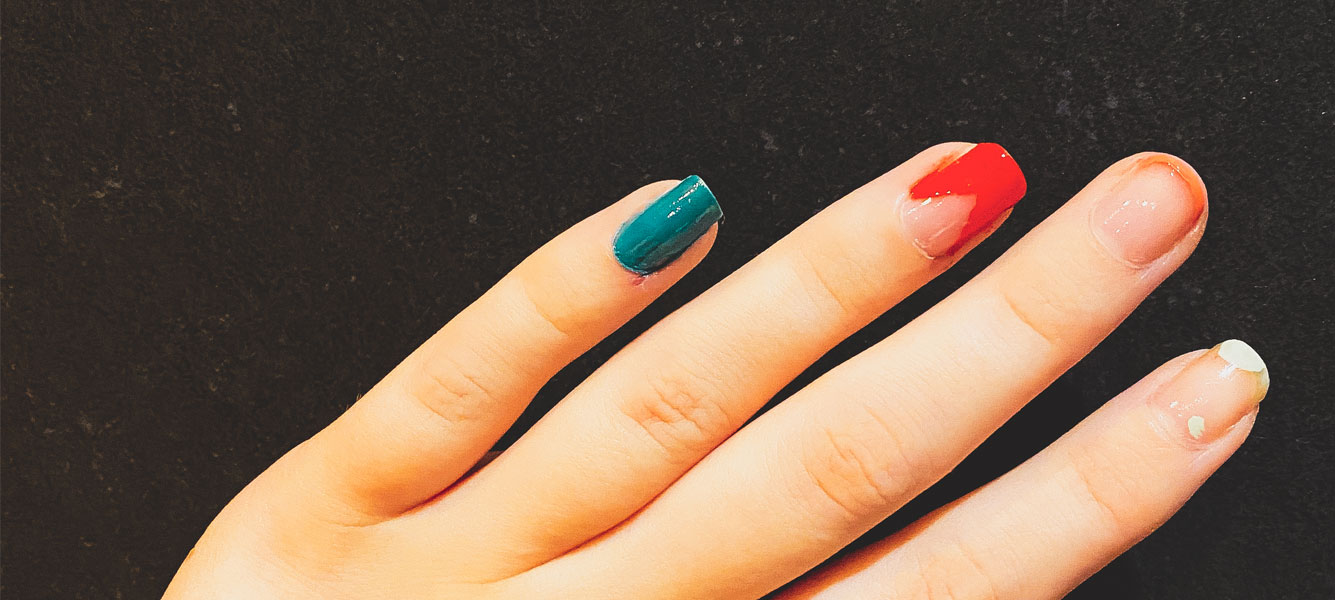
Khloe Kardashian
A lot of people’s favourite Kardashian sister, known for her OTT personality, so it is no surprise that her nails are no different. We love the contrast between the undercoat and the red in the this look so when you try it at home don’t be afraid to mix up the colours.
How to:
- File nails first along the side and then in a one-way motion along the top to create the dramatic shape
- Apply your desired undercoat colour, wait for it to dry then apply again
- Once this has dried take your topcoat and starting near the bottom left corner of your nail draw a straight line with your brush, do the same at the right corner of your nail. Fill in any caps at the top of your nail and repeat.
- Clear up any mistakes with your additional brush and nail polish remover.
- Apply a topcoat
Kourtney Kardashian
Kourtney flies under the radar more than the other sisters so it is no shock that she likes to keep her nails simple. Her nails are well looked after with a nude undercoat and hint of colour, if you look closely enough, for a classy look.
- File nails to a natural shape
- Apply an undercoat and nude base colour
- Apply a light pastel colour to just the tips of your nails removing any access with your additional brush and nail polish remover
- Apply your topcoat
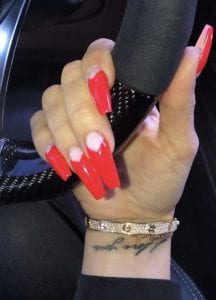
Kylie Jenner
We have saved the youngest, and the richest until last. Kylie is never afraid to go for a bold colour, and neither should you, especially in Spring. Kylie loves to keep her nails long but often likes a block colour with a little bit more of a matte look.
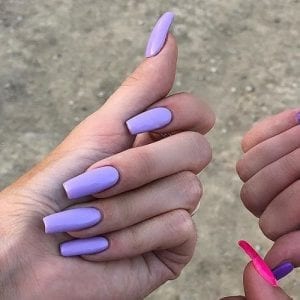
How to:
- Square your nails off at the top using a one-way motion
- Apply an undercoat
- Apply a bright colour all over your nails
- Apply a matte topcoat once your nails are dry
No matter how much you perfect these I am sure we will all be ready to get back to visit Ria at Ria’s Nails Marshes. There is simply nothing she can’t do and it is always a plus to relax and get pampered.
Boots have a tonne of kit to get you started and top tip from us; invest in a good undercoat and topcoat! It gives you great protection and glam finish.